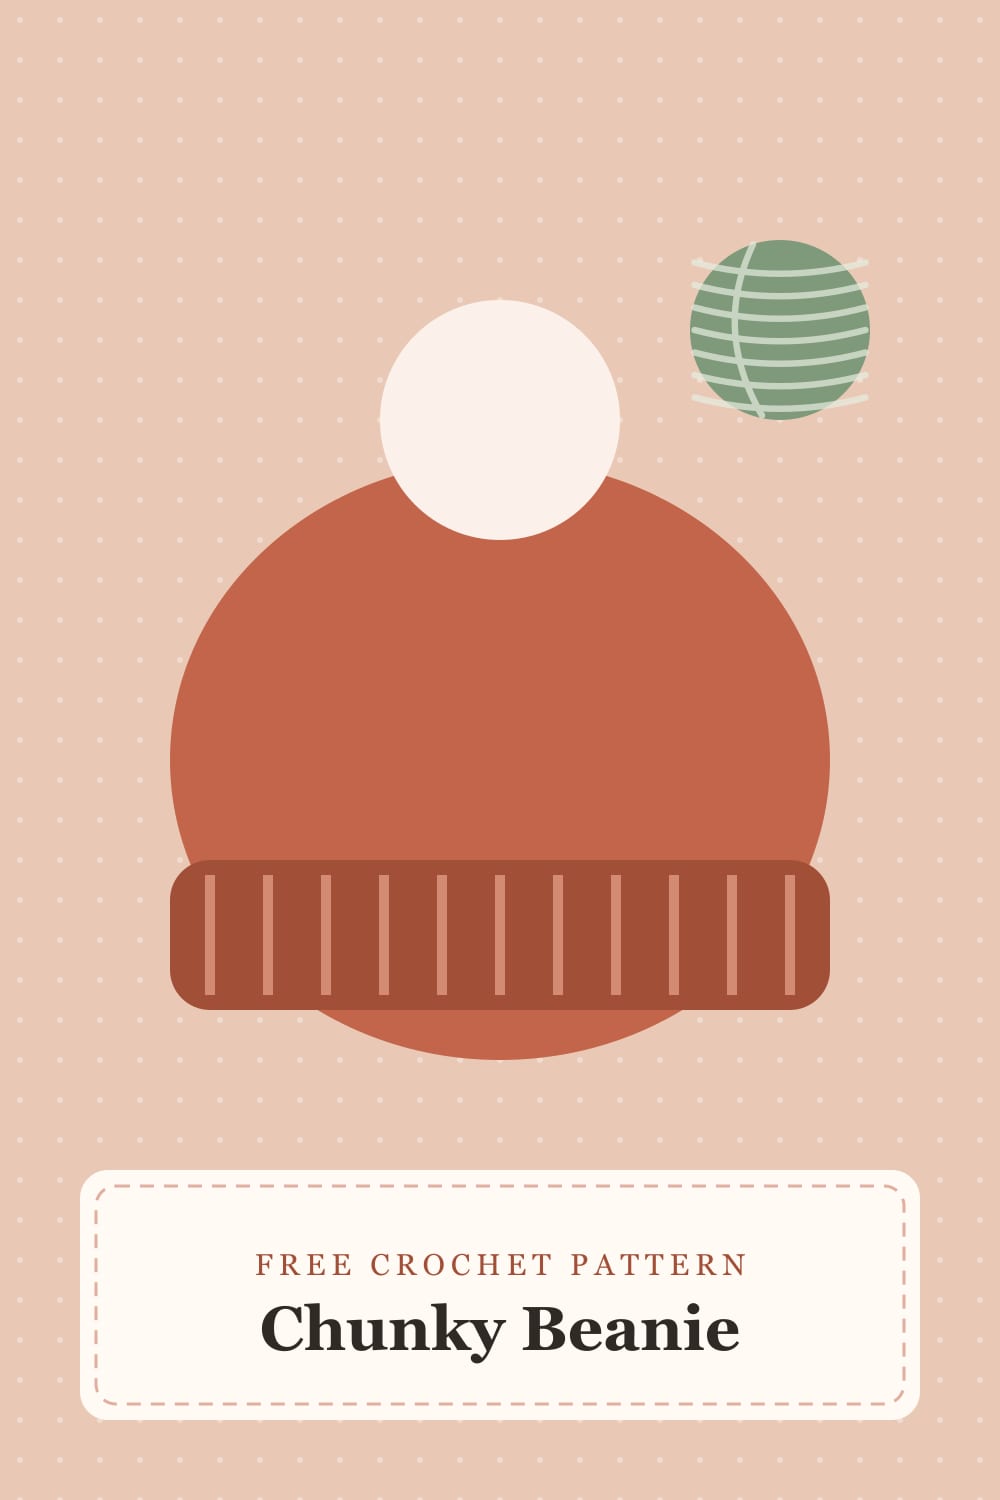
This beanie is all about texture: rows of half double crochet worked in the back loop only create a stretchy, knit-look rib. It’s worked flat as a rectangle, then cinched at the top — no increases or decreases to count.
Before you begin
Tip: Make a gauge swatch first. Bulky yarns vary a lot, and a hat that’s 2 rows too short is the most common beginner frustration.
Abbreviations
| Abbreviation | Meaning |
|---|---|
| ch | chain |
| hdc | half double crochet |
| BLO | back loop only |
| sl st | slip stitch |
| st(s) | stitch(es) |
Sizing chart
| Size | Head circumference | Starting chain | Rows |
|---|---|---|---|
| Child | 18–19 in | 22 | 36 |
| Adult S/M | 20–21 in | 26 | 40 |
| Adult L | 22–23 in | 28 | 44 |
Making the ribbed panel
- Foundation: Ch 26 (22, 28). Hdc in 2nd ch from hook and in each ch across. Turn. (25 sts)
- Row 2: Ch 1 (does not count as a st), hdc BLO in each st across. Turn.
- Rows 3–40: Repeat Row 2 until the piece measures your head circumference minus 1 inch when gently stretched.
- Do not fasten off. Fold the panel so the foundation row meets the last row.
Seaming & finishing
- Seam: Sl st through both layers along the short edge to close the tube. Fasten off, leaving a 12 in tail.
- Cinch the crown: Thread the tail onto a yarn needle and weave it in and out along one open edge. Pull tightly to close and knot securely.
- Brim: Fold the bottom 2 in up for a cuffed look (optional).
- Pom-pom: Attach the pom-pom to the crown and weave in all ends.
Variations
- Stripe it: switch colors every 4 rows for a playful look.
- Slouchy fit: add 2 in of length to the starting chain.
- Make it cozier with a fleece band sewn inside the brim.